by
User Not Found
| Jun 17, 2016
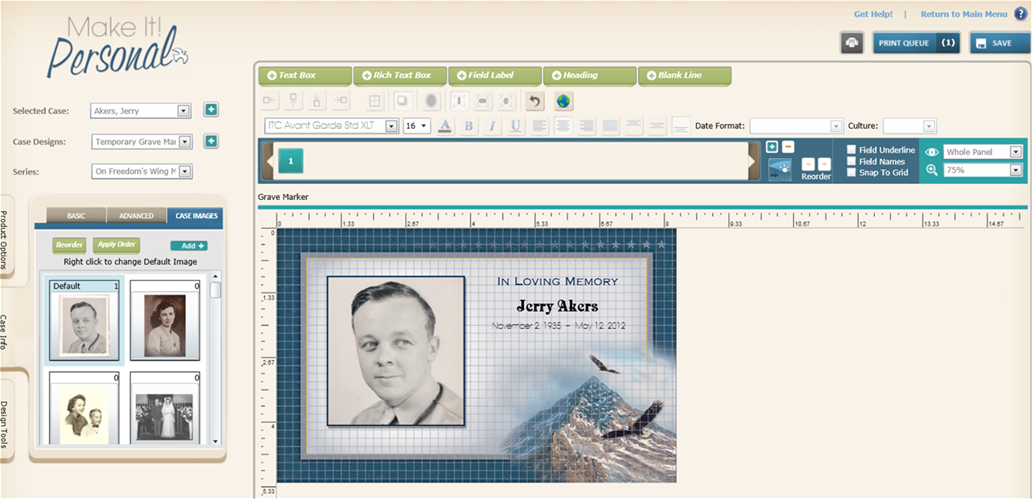
Step 1: Using the Make It! Personal web-based software, personalize the marker insert.
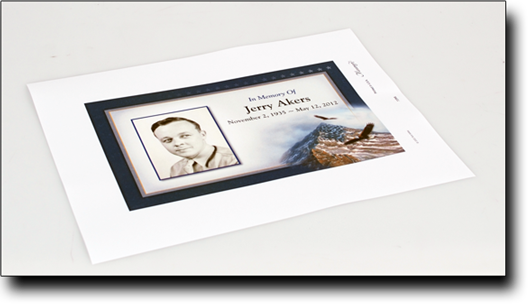
Step 2: Using your laser color printer, print the personalization onto the 8.5" x 11" perforated sheet.
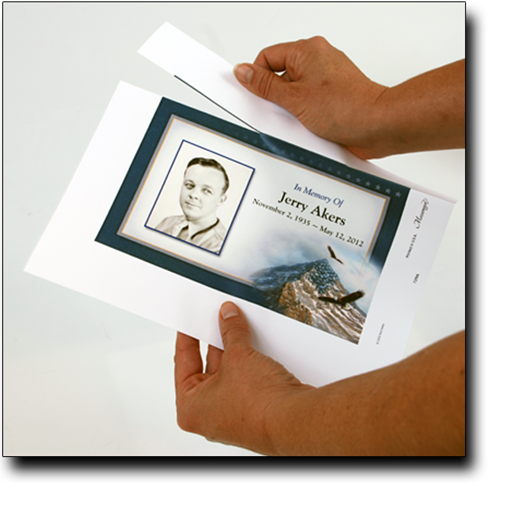
Step 3: Tear away perforation after printing the insert.
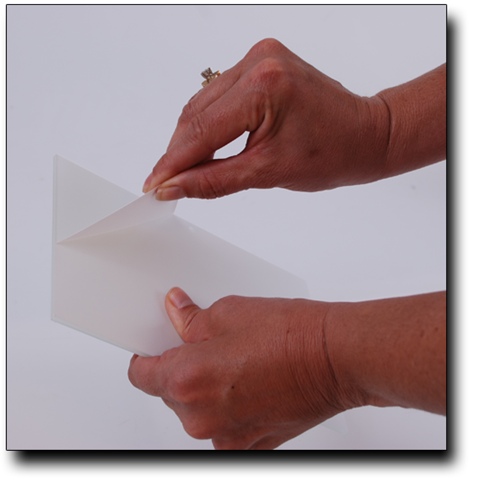
Step 4: Remove the protective film from both sides of the acrylic covers.
Step 5: Place the personalized insert between the two acrylic covers.
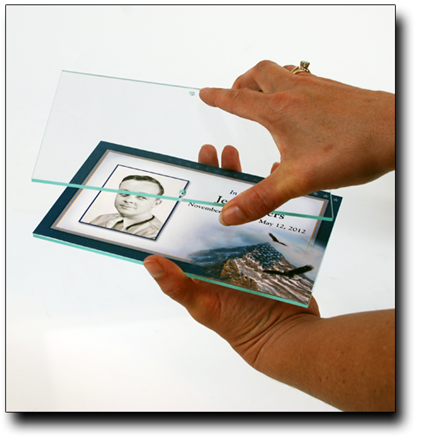
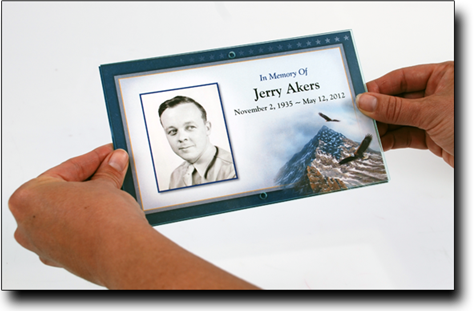
Step 6: Use the punch assistant provided to punch a hole into the personalized insert. This will help the screws go into the holes easily.
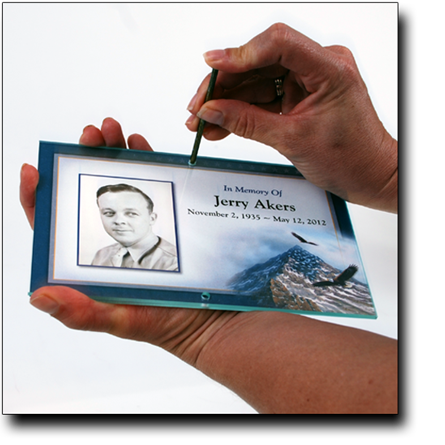
Step 7: Insert the screws into the aligned holes.
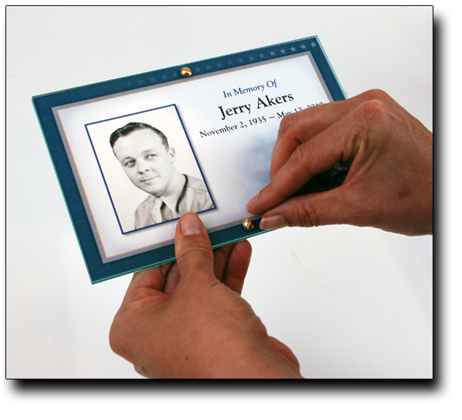
Step 8: Flip the marker over and align the stake over the screws. Put the nut over the screw and tighten with fingers.
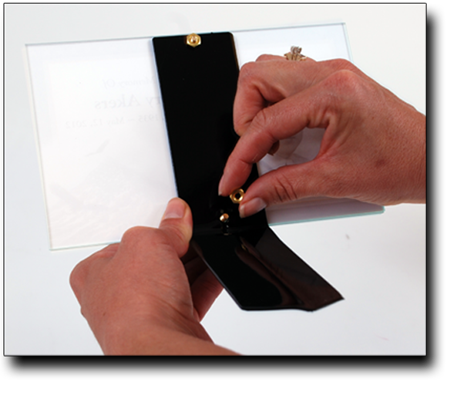
Step 9: Use a flat screwdriver to tighten the screws. Be sure not to tighten too tight to avoid damaging the acrylic.
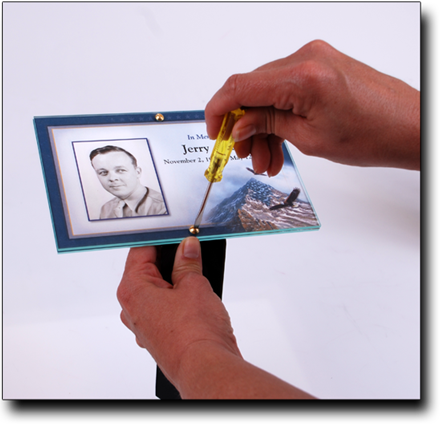
You now have a finished personalized marker!
