by
User Not Found
| Jun 14, 2016
All of us at Messenger are so excited that you are just moments away from gaining access to one of the most powerful tools available to our industry. The Make It! Personal web application is intended to make the task of personalizing stationery fun, fast, and easy. We certainly believe it lives up to that expectation. So, let’s get started!
Logging into Make It! Personal Using Internet Explorer Web Browser
Note: This guide assumes you will be using Internet Explorer. We recommend updating to the latest version.
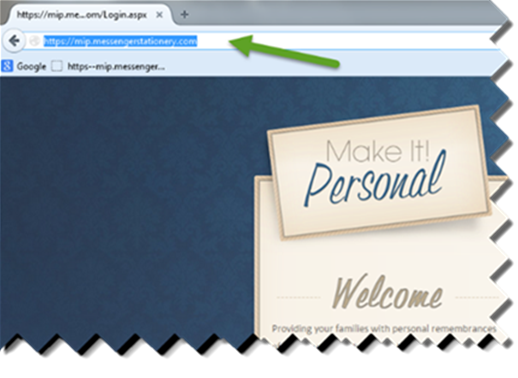
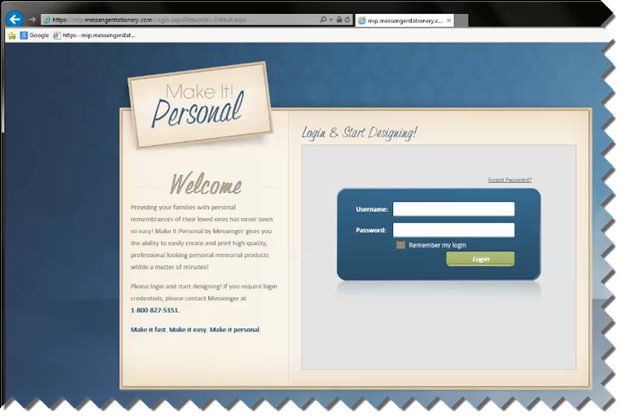
1.) Navigate to the following address in your web browser:
https://mip.messengerstationery.com
Make It! Personal is compatible with Internet Explorer, Safari, and Mozilla Firefox.
Google Chrome is NOT compatible.
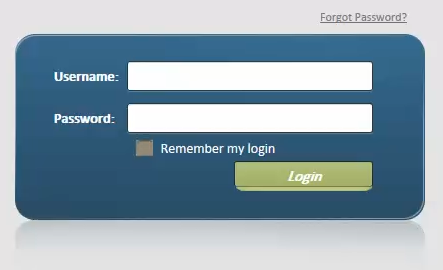
2.) Please enter the username and password provided to you by Messenger. The password is case sensitive, so please enter the password exactly as you have received it. Watch out for blank spaces at the end of your username and password if copying & pasting them in from an email.
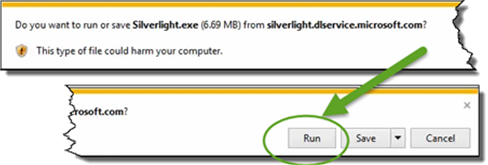
3.) A prompt will appear asking if you want to run or save Silverlight.exe.
Click "run."
The installation will begin after a brief security scan of the installer download.
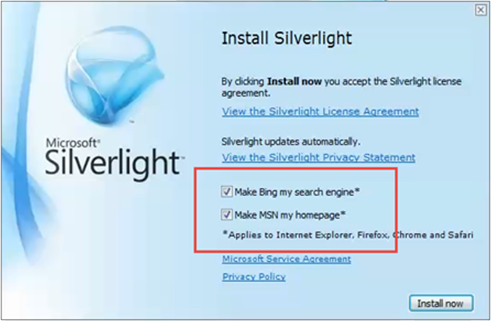
4.) You may wish to uncheck both checkboxes, so your existing browser home page is not altered.
Then click "Install now."
The length of this process will vary depending on your Internet speed.
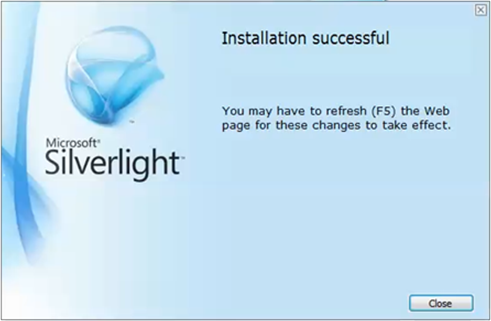
5.) Once complete, you will get a message that installation was successful and to refresh your browser.
Click "close."
It is now necessary to completely exit Internet Explorer (all windows/tabs) and restart Internet Explorer. You can now return to: https://mip.messengerstationery.com
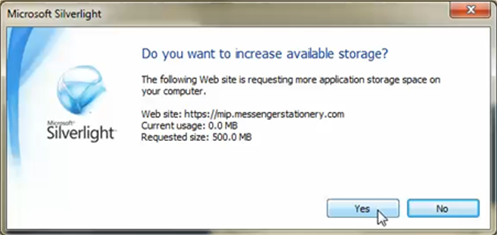
6. ) Once logged into the web application, at some point you will be prompted to increase the amount of space on your hard drive that Silverlight is allowed to use. Always select "Yes" to allow the web application to temporarily use hard drive space while working on designs. Once designs are saved, this will store the data in the cloud app, and will not consume space on your hard drive.
7.) You may wish to create a "Favorite" or "Bookmark" for the Make It! Personal web application for easier access. You can do this at any time by navigating to:https://mip.messengerstationery.com
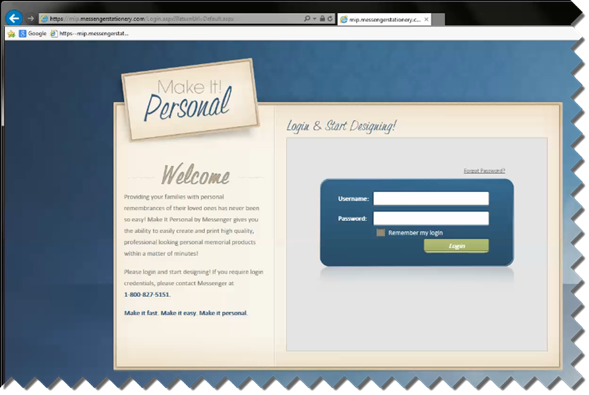
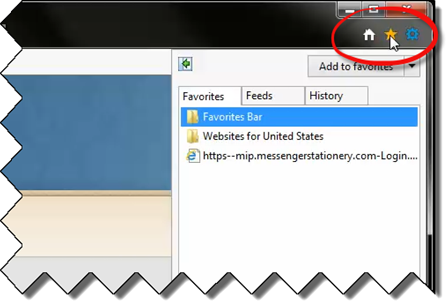
8.) Once you see the login page for Make It! Personal, click on the "star" icon in the upper-right browser window. You will see the Favorites Menu drop down.
Simply click the "Add to Favorites" button immediately below the star icon.
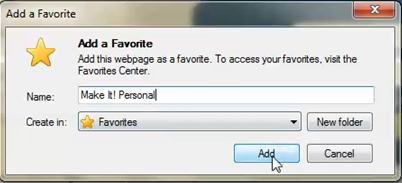
9.) A window pops up prompting you to add the Favorite. At this point you can just hit the "Add" button to save it, but you may wish to give it a shorter, easier to recognize name.
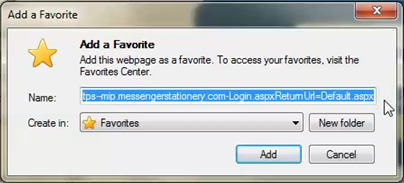
Simply delete the text in the Name field, and replace it with something memorable, perhaps – "Make It! Personal"
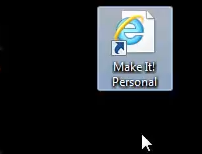
10.) You also have the option of making a shortcut icon on your Desktop. Just click and hold down the mouse button on the Make It! Personal Favorite in the Favorites Menu, and drag it to any empty space on the Desktop.
You have now successfully logged into Make It! Personal, and are well on your way to personalizing your Messenger products!
Logging into Make It! Personal Using Firefox Web Browser
Note: This guide assumes you will be using Mozilla Firefox for PC. We recommend updating to the latest version. After upgrading you may be prompted to "Activate" Silverlight once again. Please choose "Allow and remember."
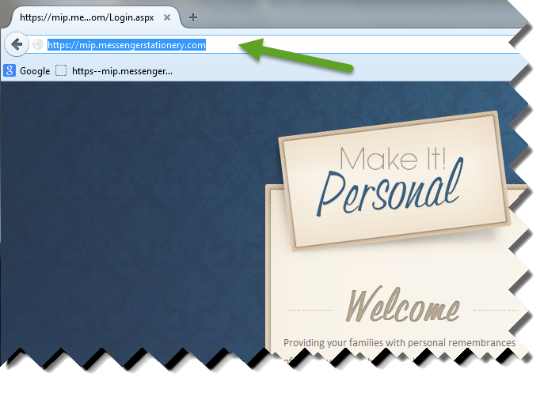
1.) Navigate to the following address in your web browser:
https://mip.messengerstationery.com
Make It! Personal is compatible with Internet Explorer, Safari, and Mozilla Firefox.
Google Chrome is NOT compatible.
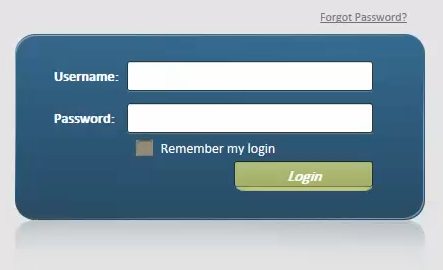
2.) Please enter the username and password provided to you by Messenger. The password is case sensitive, so please enter the password exactly as you have received it. Watch out for blank spaces at the end of your username and password if copying & pasting them in from an email.
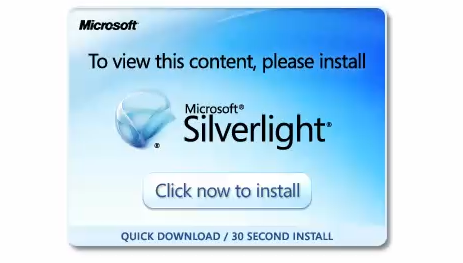
3.) Upon logging in for the first time, you may receive a prompt to install Silverlight. Silverlight is similar to Adobe Flash, and is required to run the Make It! Personal web application.
Click the "Click now to install" button.
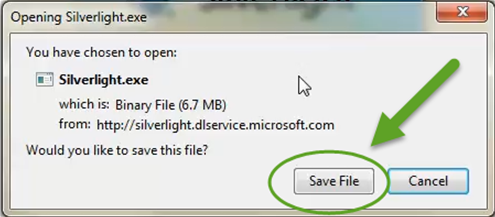
4.) A prompt will appear asking you to save Silverlight.exe.
Click "save."
The installation will begin after a brief security scan of the installer download.
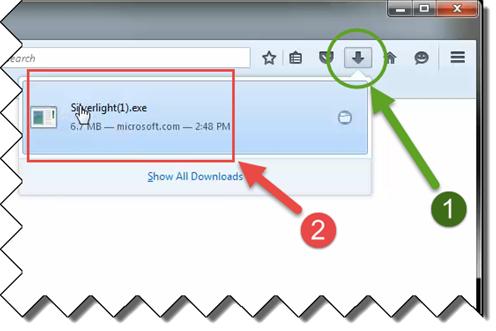
5.) Click on the down arrow (circled in green) in the upper right of the browser window to reveal a drop down showing the Silverlight installer. Then click where it says "Silverlight.exe" (boxed in red).
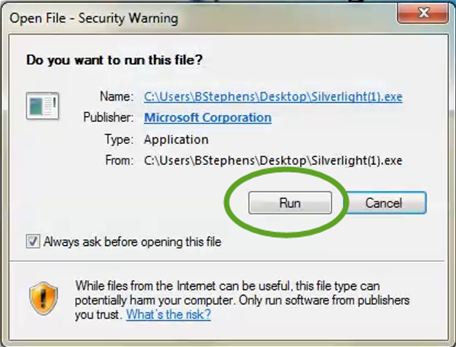
6.) A Security Warning will pop up asking to confirm that you wish to run the installer.
Go ahead and click "Run."
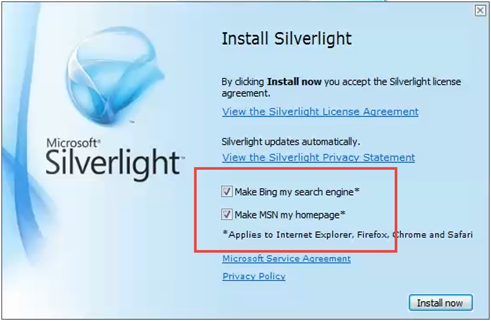
7.) You may wish to uncheck both checkboxes, so your existing browser home page is not altered.
Then click "Install now."
The length of this process will vary depending on your Internet speed.
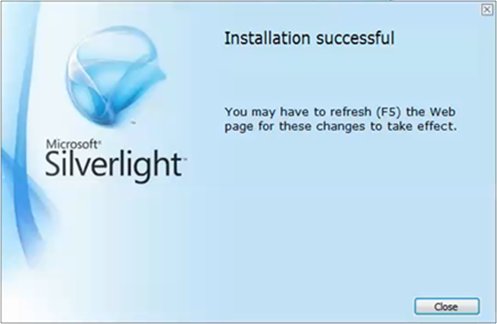
8.) Once complete, you will get a message that installation was successful and to refresh your browser.
Click "close."
It is necessary to completely exit Mozilla Firefox (all windows/tabs) and restart the browser. You can now return to: https://mip.messengerstationery.com
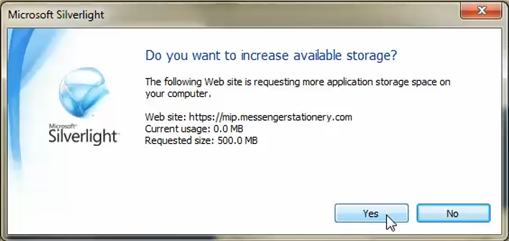
9.) Once logged into the web application, at some point you will be prompted to increase the amount of space on your hard drive that Silverlight is allowed to use. Always select "Yes" to allow the web application to temporarily use hard drive space while working on designs. Once designs are saved, this will store the data in the cloud app, and will not consume space on your hard drive.
10.) You may wish to create a "Bookmark" for the Make It! Personal web application for easier access. You can do this at any time by navigating to https://mip.messengerstationery.com
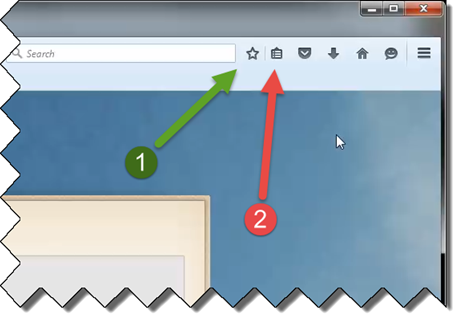
11.) Once you see the login page for Make It! Personal, click on the "star" icon in the upper-right browser window. Next click the "clipboard" icon just right of the "star" icon and select "Show All Bookmarks."
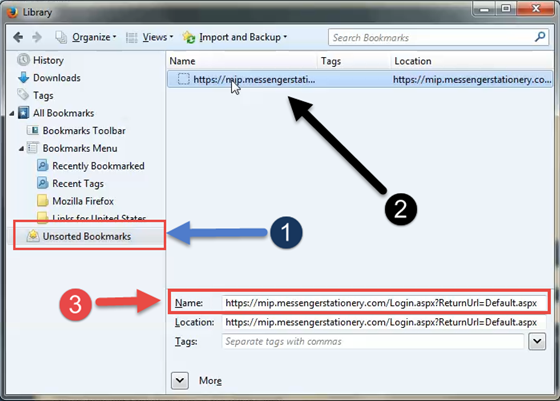
12.) The "Bookmarks Library" window that opens will allow you to customize the name and location of your bookmark for optimal efficiency. First click on "Unsorted Bookmarks" where your new bookmark is initially located. In the right panel, be sure to select the Make It! Personal URL.
You may wish to give this a shorter, easier to recognize name. Simply delete the text in the Name field, and replace it with something memorable, perhaps "Make It! Personal"
13.) From here you can move your Bookmark to the location of your preference. Just click-hold and drag the Bookmark to your choice of location. Some common locations would be Bookmarks Toolbar, Bookmarks Menu.
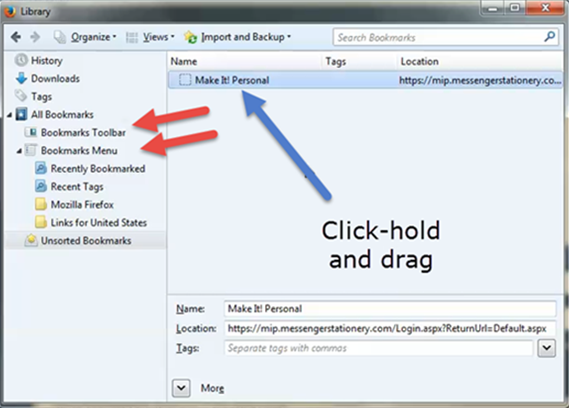
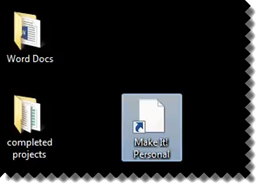
You also have the option of making a shortcut icon on your Desktop. Just drag it to any empty space on the Desktop.
You have now successfully logged into Make It! Personal, and are well on your way to personalizing your Messenger products